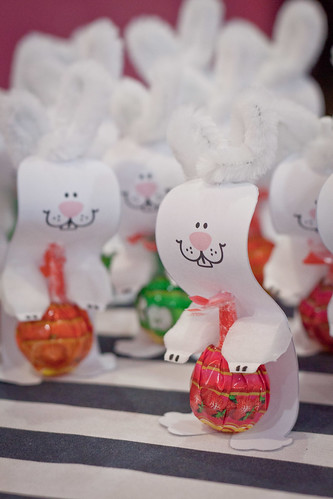
Click here to download the PDF from www.freefuneaster.com
Important to print out using a colour printer so you will have a nice cute pink nose for the rabbit.

Shop and make sure you have these.
Supplies
Lollipops
Fuzzy Pom-Poms
Chenille Stem *Fluffier the better. :P
Facial Cotton *for the arms can be substitute with 2 Fuzzy Pom-Poms
Printed Bunny
UHU Glue
Marker Pen
Scissors
Penknife
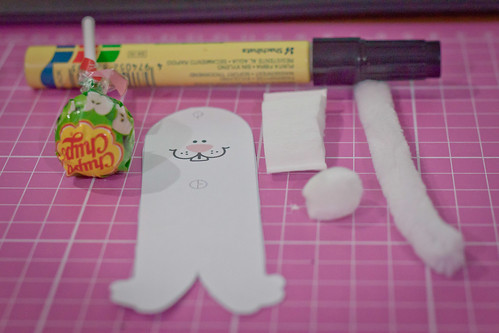
Cut out the paper bunny using a scissors. Then use the penknife to cut a plus sign at each circle. The above supplies is enough to make 1 Easter Bunny.
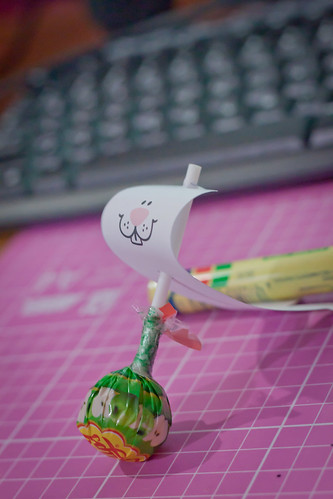
Insert the stick of the lollipop onto the cut plus signs as shown to create a "3D" effect of the face.
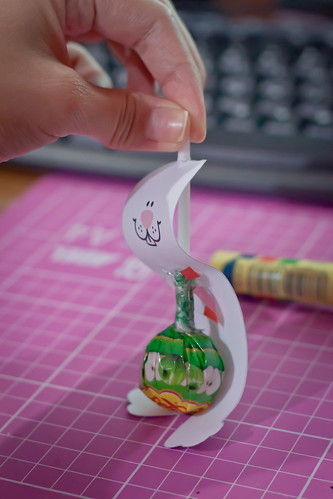
Glue the paper feet to the bottom of the lollipop.
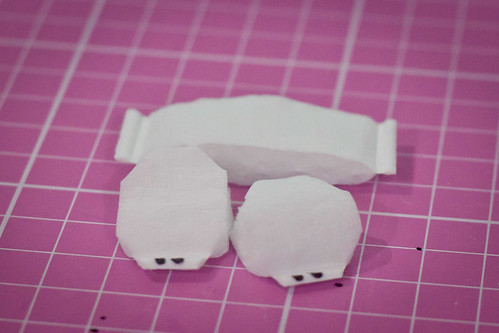
Now for the arms. The size of this type of facial cotton that I have is approximately 3cm x 2.5cm which I cut them into 3 pieces 1cm each. Cut off all the edges & add 2 black lines with the marker pen to create a more "arm" look. Of cause this process can be easily replace with 2 Fuzzy Pom-Poms, however cost will be higher.
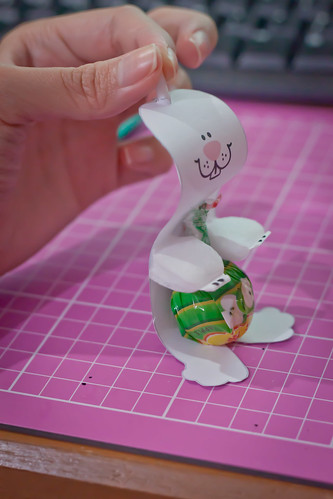
Take the back of the open end and squeeze some glue on it then place it on both sides leaving it looking like it is holding on to the "Easter Egg".
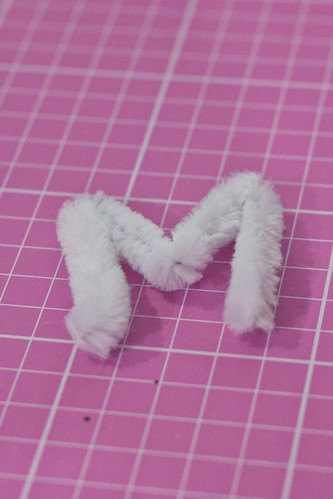
Twist the Chenille Stem to make it look like a "M".
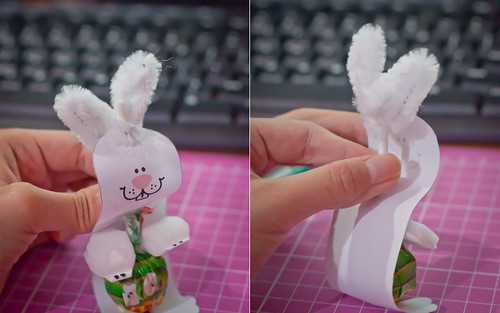
Take the twisted Chenille Stem and wrap them around the end of the lollipop stick. One end twisted above the bunny head and the other end below for support and padlock to avoid the ears falling off. Adjust it till it looks like cute rabbit ears!
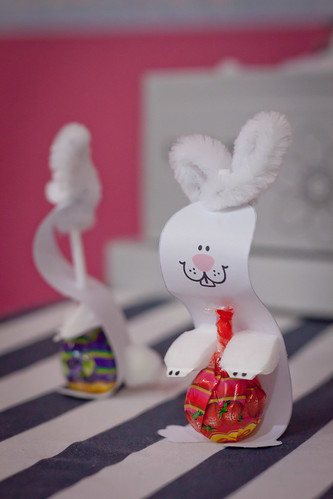
Glue a Fuzzy Pom-Pom to the back to create a support. Allow time for your craft to dry. If your bunny cannot stand. This fuzzy tail will be the secret to make it stand!
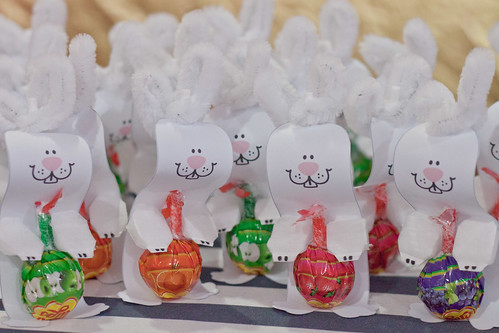
Look at the Easter Bunny gang that is ready to bring smiles to everyone face.
Hopefully we did make as many of our friends happy. I made 40 Easter Bunnies!!! Can you break my record?
No matter how few or many you made share it with us by leaving at the comment below. :)

cuteness! i have a soft spot for bunnies, since i was born in the year of the rabbit, heheh :D
ReplyDelete