
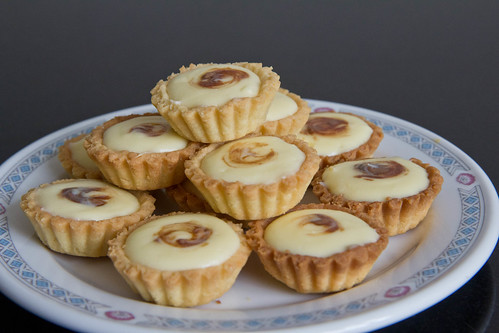
It's been ages since I very last baked my legendary Cheese Tarts that my hometown family friends that had a chance to taste it, came back ask for more, and asking if they could place order. Since I'm a big fan of cheese and cheesecakes too, I'm baking it again!!! Not forgetting I'm more of a chocoholic actually.
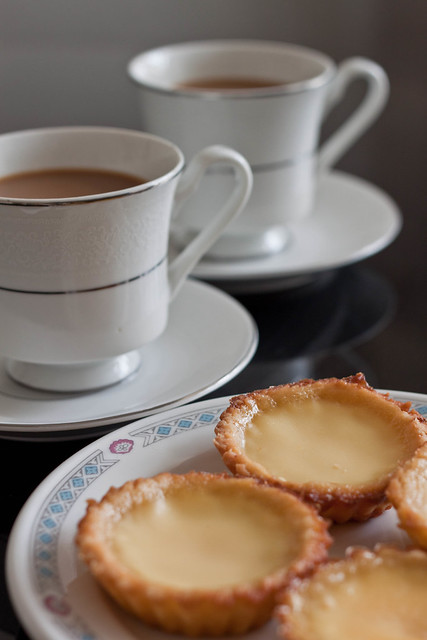
Happy Friday! We both started our day off with my warm up Egg Tarts that I baked yesterday, along with Mauritius Roasted Coffee bought from Mauritius on our trip there last year Nov-Dec. A very suitable, combination which dear's daddy mentioned. *****yummy yummysss*****
Getting back to baking Cheese Tarts.
For the pastry, I use back the same pastry as my Level 1 Egg Tart Exploration.
Tart Crust Recipe
115g Butter (softened)
70g Sugar
1 Egg
210g All-Purpose Flour
1/4 teaspoon Salt
Removable Bottom Tart Pan
Grease the tart pan with Butter. Cream Butter and Sugar until light and fluffy. Add the egg and beat until mixture is smooth. Add the Flour and Salt and mix well. Divide the mixture, then use your fingertips to press the dough into the tart pan. Prick all over of the base of the tart with a fork. Refrigerate for 30minutes. Pre-heat the oven to 180°C. Bake for 5mins to 10mins or until slightly golden. While it's baking prepare.......
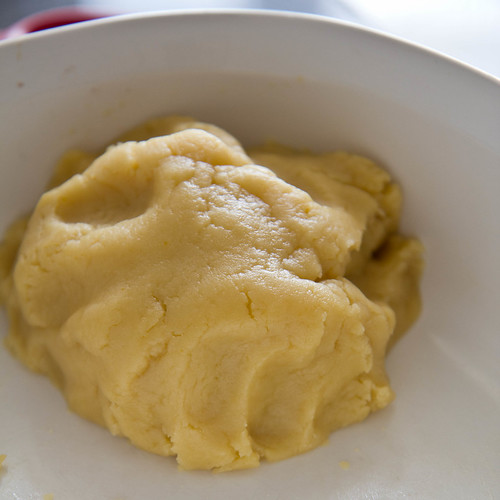
However, this round here are some pictures of the pastry process!
After the dough is mix up nicely, it would look like this!
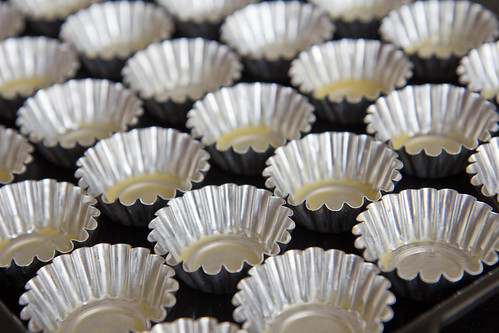
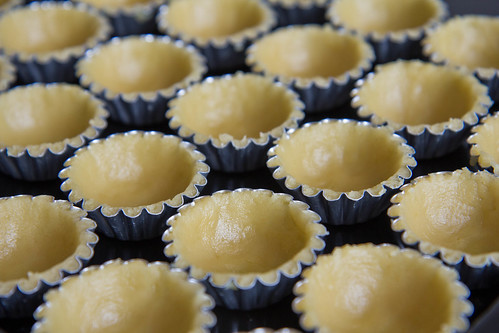
Since it's cheese tarts and I love it more when it's a mini version, I took out my long not use mini tart molds and butter all of them before i press the pastry dough in.
Taking the pastry dough smaller then a ping pong ball size, and roll it up. Oh! remember to press it flat too!

Press the flat pastry dough in the tart molds, and cut off the edges so it looks like this. Now you're half way done. From Mixing to pressing out the pastry normally takes up half or more then half of the whole process of all tart baking.
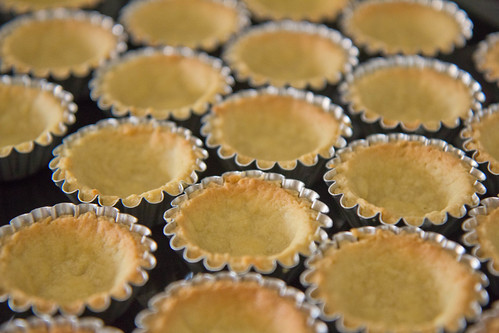
After the 10mins baking time at 180 degree C. This is the tart shell that can be used to do tons of tarts eg: egg tarts, cheese tarts, fruit tarts.....
Now it's time for the most important part of this bloggie post!
THE.....................
Cream Cheese Fillings
Ingredients:::
250g Philadelphia Cream Cheese
20g Butter
60g Fine Granulated Sugar
1 Egg
(for some artistic work)
2-3 cubes of Milk Chocolate
OR
2-3 tablespoon of Blueberry Jam
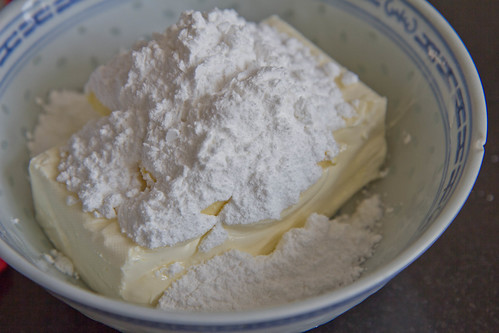
Beat the Philadelphia Cream Cheese, Butter, and Fine Granulated Sugar together till light, then add in the egg and beat to mix well.
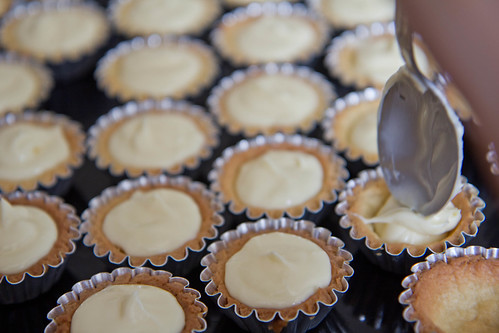
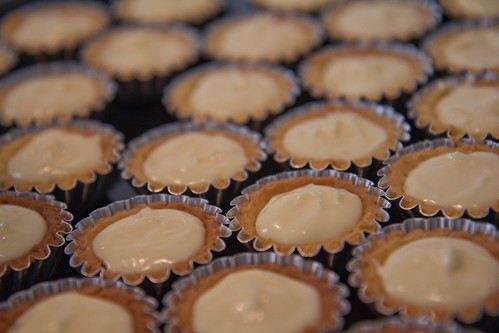
Using a tablespoon to spoon the cheese mixture, along with the assistant of a teaspoon to push the mixture down easily into the baked tart shells.
If you are using chocolate, melt them in a double boiler and add a teaspoon or two of milk, this will make the texture of the chocolate more suitable for your artistic drawings to make your cheese tarts look more mouth watering.
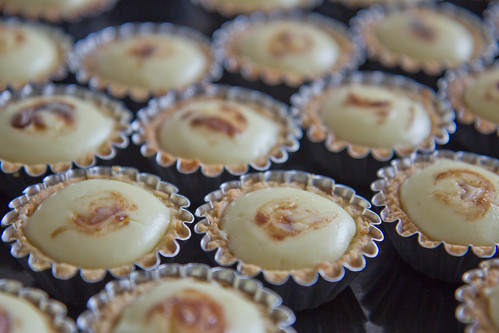
This is an important note: As I couldn't find any milk at home so my chocolate texture makes my tart looks a bit................... ugly =[ Good thing I am the one making this mistake so your tart won't look like mine!
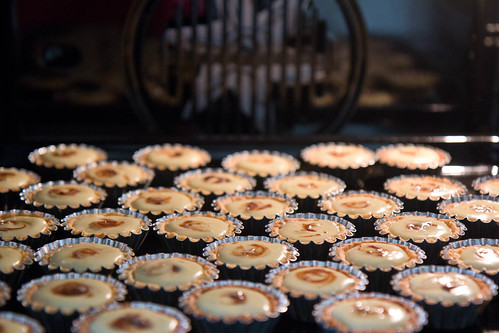
No matter if you are using Chocolate or Blueberry Jam, depending on your tart size put a dot in the middle of the tart and use a chopstick to do some twirling, simple like mine. However, if you are artistic enough you can try piping the Chocolate or Blueberry Jam and use a satay stick to draw patterns. ^.^
After you finish your art work, place all of it back into the oven and bake for another 180 degree C for 10mins.
Take it out to cool for 30mins to 45mins. Since Cheese Tarts are best when served cold. After it is cool to put it in the fridge to chill before serving or consuming.
There you go ready to impress the people around you that you can bake!
Click here for our blog page Baking Classes for more recipes. Hope you will be inspired~
wow, those do look incredible. very tempting and appetizing, especially the middle part. i'd like to try them warm though! anyways, they look 10 times yummier than a lot of the bakery versions :D
ReplyDeleteHi. Love your blog. Tagged you already ;) like to know what mould size did you use for this cute tart. Thanks in advance.
ReplyDeletehi mimi,
Deletethanks! the size of the mould is 1" at the bottom. it's a good size for cheese tarts... ^.^